Custom Webpage Development
Custom Webpage Development
This page aims to guide developers on how to develop custom webpage add-ons.
Please note:
This chapter serves as an introductory tutorial, primarily to familiarize developers with the basic knowledge and development process of custom webpages.
For information on how to develop AddOn packages with specific function for specific scenarios, please refer to the subsequent comprehensive case chapters.
About Custom Webpages
What Are Custom Webpages
Custom webpages refer to pages that are not the existing pages within the JAKA App, developed by developers according to their own needs, and in compliance with web development standards.
Purpose of Custom Webpages
In working scenarios, it may be necessary to switch back and forth between different Apps, or between different pages within the JAKA App, or to stop working on a process to debug third-party devices. In such cases, it may have an impact on work pace and efficiency.
By using AddOn custom webpages, the "back and forth switching" issue can be solved by combining different widgets together to use.
Creating JAKA_Web
Currently, JAKA supports two ways to create a custom web.
The first way is to use the dashboard (simple code UI template) in Node-RED. This way is easy and fast, as the templates and the widgets within are abundant. But webpage with complex logics and styles might be unable to create. The second approach involves developing and deploying in the form of front-end standard engineering, which allows for the creation of more complex pages.
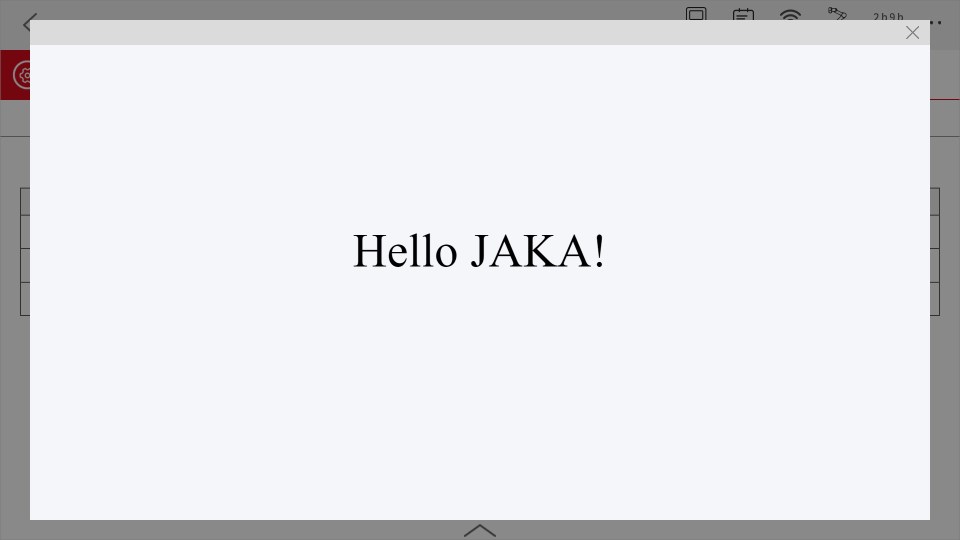
In this demonstration, we will use both ways to create a JALA custom web AddOn. The function of this AddOn is to display "Hello JAKA!" on the page.
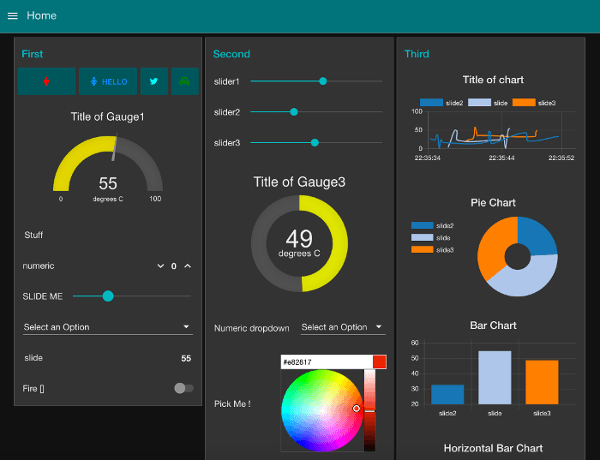
Method One: Use Dashboard Template
About the dashboard template This module in Node-RED provides a set of nodes for quickly creating real-time data and control panels. In subsequent tutorials, we won't delve too much into the basics of this module. For more details, you can refer to the official documentation node-red-dashboard, or search online for third-party tutorials to learn more.
Step One: Create an Add-on Folder First, we need to create a basic AddOn folder. This folder should contain a configuration file in .ini format and a frontend project file. We recommend using "client" as the folder name for the frontend project.
You can create a new folder, or modify the AddOn template under the "Template" directory in the AddOn development kit repository.
Directory Structure
|—JAKA_UI
|—AddOn.json
|—JAKA_Web_config.ini
- JAKA_UI_config.ini
Configuration File内容如下:[AddOnInfo] convention = 3.0 name = JAKA_UI description = "Display “Hello JAKA!" version = 1.0 type = 3 portal = 10006 url = http://localhost/ui languagetype = node-red service = AddOn.json serviceenabled = 0
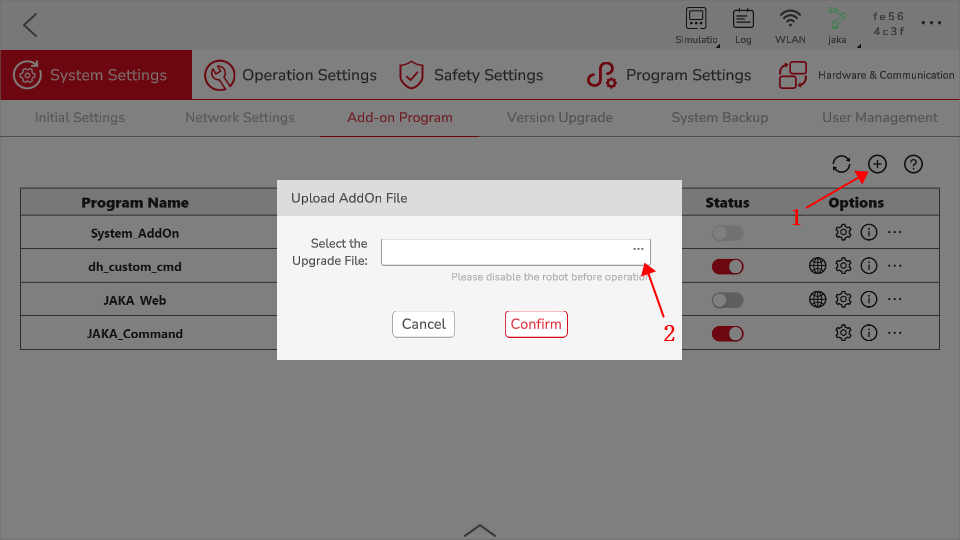
Step Two: Package & Upload Next, we will package the folder created in step one and upload it to the controller for custom Web development. The required format for packaging is .tar.gz.
In Windows, you can use tools like 7z for further compression.
Attach the manager page in the App to upload the AddOn.
Step Three: Use Dashboard Widget to Create UI Webpage After uploading and running the AddOn, you can access the Node-RED development page of the AddOn by entering the IP address of the current machine where the robot is hosted, followed by ":" and the port number on which the AddOn is running, into the browser's address bar. This will allow you to access and interact with the AddOn through Node-RED.
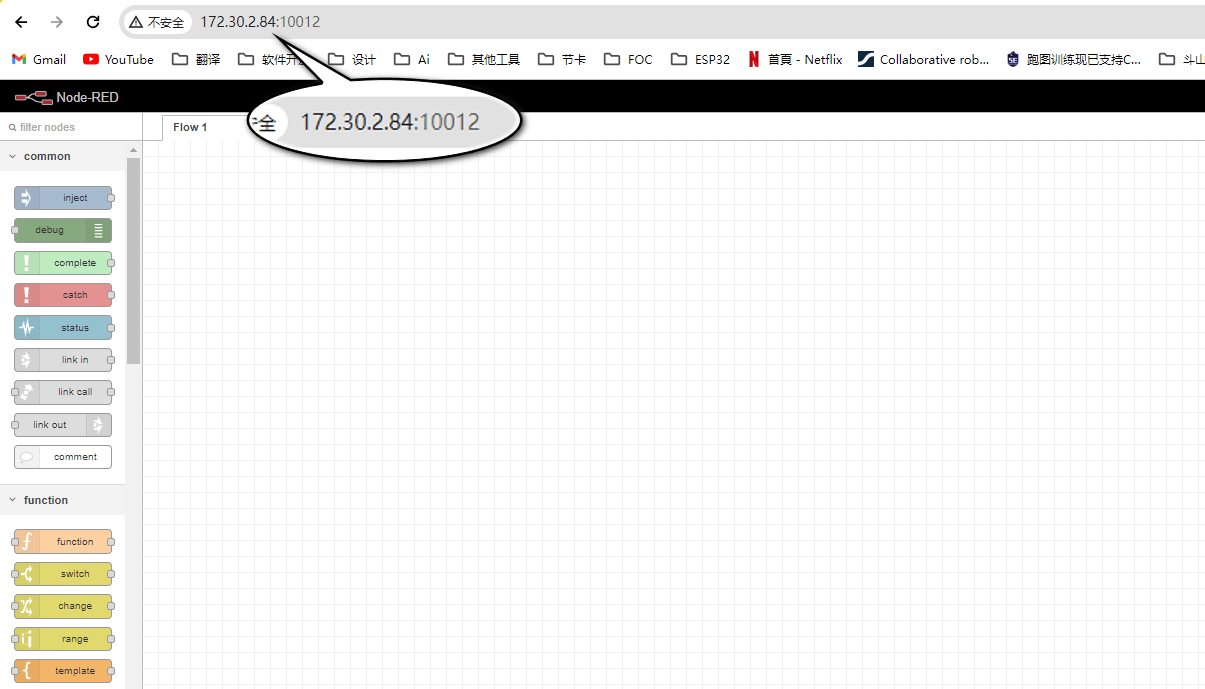
After entering the development page, locate the "dashboard" directory on the left side. We will use a text node to display the text "Hello JAKA!" on the page.
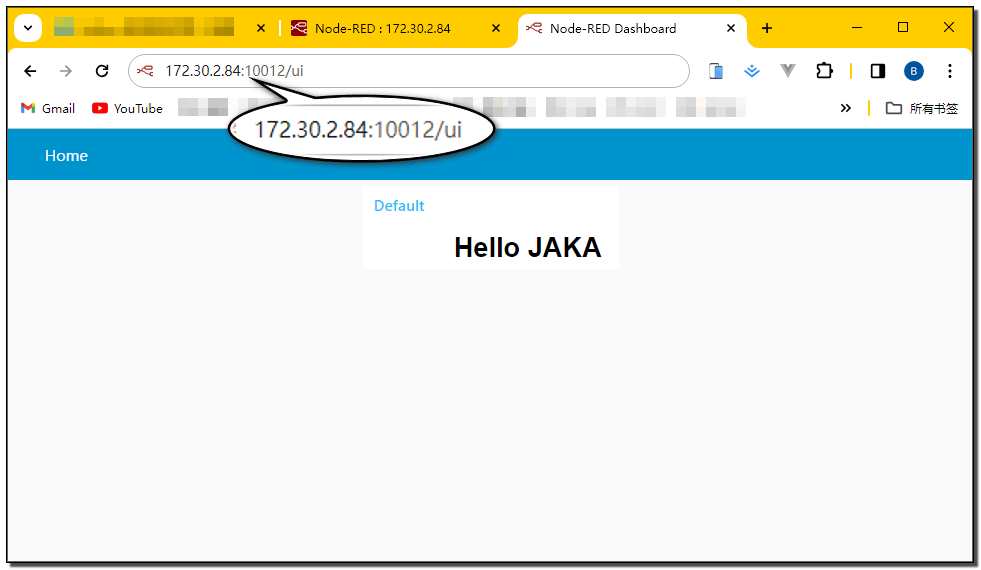
After completing the configuration following the above steps, click on "Deploy." Once deployment is complete, you can access the UI page of the AddOn by entering the IP address of the current machine where the robot is hosted, followed by ":" and the port number on which the AddOn is running, and then adding "/ui" to the end of the address in the browser's address bar. This will allow you to access the UI page of the AddOn.
Note
Currently, UI pages created using this method can only be accessed through a web browser and cannot be accessed through the "globe" button within the app.
In the following stages, we will improve the configuration file parsing method to enable access through the "globe" button within the App.
Summary
Here, we've learned how to enter the Node-RED components, locate the Dashboard component node, and use the text node to display text. We've also successfully accessed it through a web browser.
Following this, you can explore the advanced tutorial using Usw JAKA Dashboard Template to learn how to use and modify some of the preset Dashboard components we've provided.
Method Two: Use Front-end Standard Engineering
Step One: Create an AddOn File First, we need to create a basic AddOn folder. This folder should contain a configuration file in .ini format and a frontend project file. We recommend using "client" as the folder name for the frontend project.
You can create a new folder, or modify the AddOn template under the "Template" directory in the AddOn development kit repository.
Directory Structure
|—JAKA_Web
|—client
| |—index.html
|—JAKA_Web_config.ini
- index.html
<!DOCTYPE html> <html lang="en"> <head> <meta charset="UTF-8"> <meta name="viewport" content="width=device-width, initial-scale=1.0"> <title>Hello JAKA!</title> </head> <body style="background-color:#f5f6fa;"> <p style="font-size: 10vh;text-align: center;margin-top: 20%;"> Hello JAKA!</p> </body> </html> - JAKA_Web_config.ini
Configuration File content is as follows:[AddOnInfo] convention = 3.0 name = JAKA_Web description = Display "Hello JAKA!" on the page. version = 1.0 type = 3 portal = 10006 url = http://localhost/JAKA_Web/client/ languagetype = node-red service = null serviceenabled = 0
Step Two: Package & Upload Next, we will package the folder created in step one and upload it to the controller for custom Web development. The required format for packaging is .tar.gz.
In Windows, you can use tools like 7z for further compression.
Attach the manager page in the App to upload the AddOn.
Step Three: Access the Webpage
Below are two methods to access the previously created web.
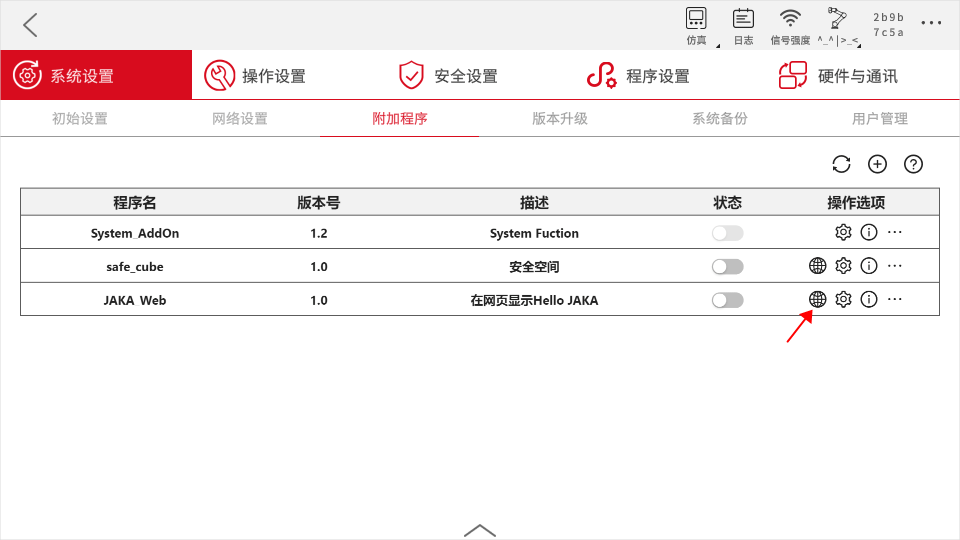
- Method 1: In the AddOn, find JAKA_Web and click the globe icon to access the web.
Method 2: Enter
http://172.30.2.216/addon/4.3-JAKA_Web/client/in your browser, replacing the link IP with the current robot's IP.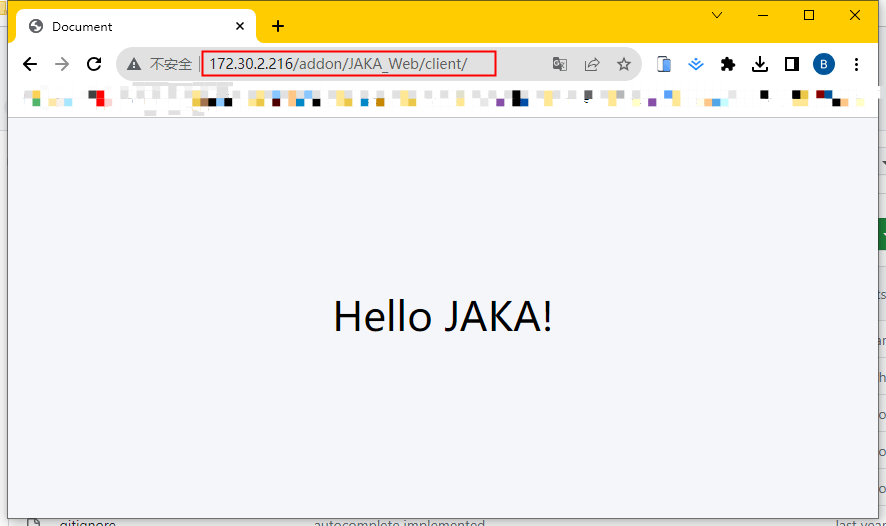
Compatibility
When developing custom webpages, pay attention to the version of the target browser to avoid incompatibility due to version differences.
- The web view plugin used in JAKA App to display custom webs uses the browser engine
Chromium:74.0.3729.157.